How to upgrade your computer to Windows 11 for free
Content
For the first time in 7 years Microsoft has released a new Windows update. With Windows 11, you get a clean interface, snap layouts, customized widgets and more. However, it should be noted that not all PCs are compatible with Windows 11. Find out if your computer can be upgraded to Windows 11 and various ways to upgrade your computer for free.
Can I upgrade to Windows 11?
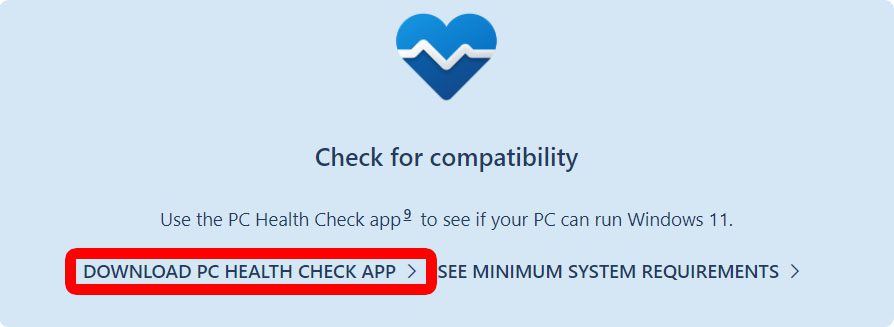
To find out if your computer is compatible with the Windows 11 update, you can download it here PC Health Check App From Microsoft. After installing the program, click on it Check now, And you will see a pop-up message indicating whether or not your computer meets the Windows 11 requirements.
- Go to the PC Check Health Apps page. You can see this microsoft.com/en-us/windows/windows-11.
- And then click Download PC Health Check App.

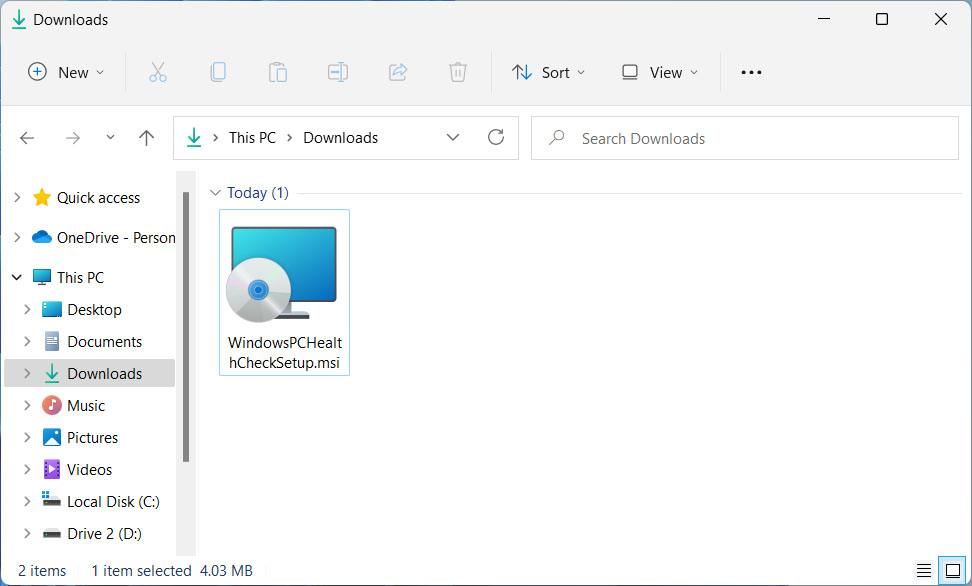
- Next, double-click the installer and follow the on-screen instructions. You can find the installer in your downloads folder or wherever your browser downloads files by default.
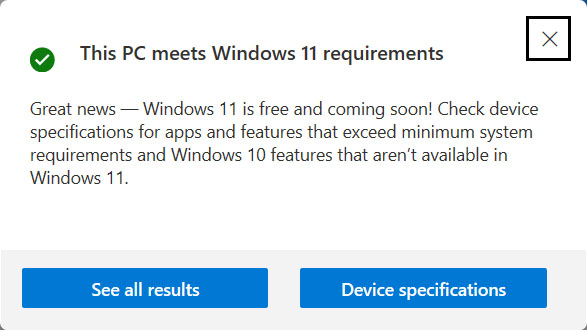
- And then click Check now.
- Finally, you will see a pop-up message asking if you can upgrade your computer to Windows 11.

If you see a message that your system does not meet the requirements, you can still upgrade, but Microsoft advises you against updating to Windows 11 on unsupported PCs. You can see the full list of required specifications on the Microsoft website Here.
read more: How To Check Your Computer’s Features In Windows 10

How to upgrade to Windows 11
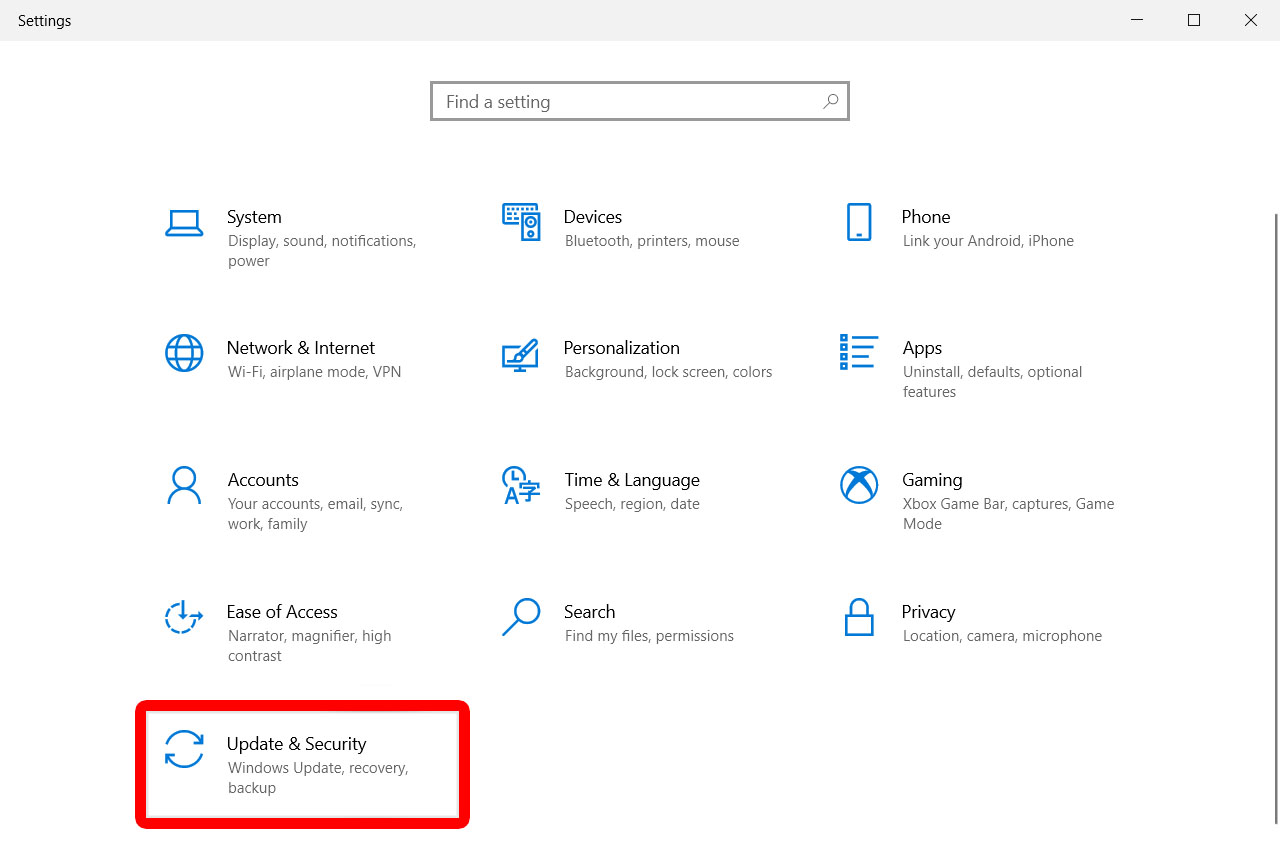
To upgrade your computer to Windows 11, click and select the Windows logo in the lower left corner of your screen Settings (With gear shaped icon). And then click Renewal & Security And select Update Windows Tab. Finally, click Check now Then Download and install.
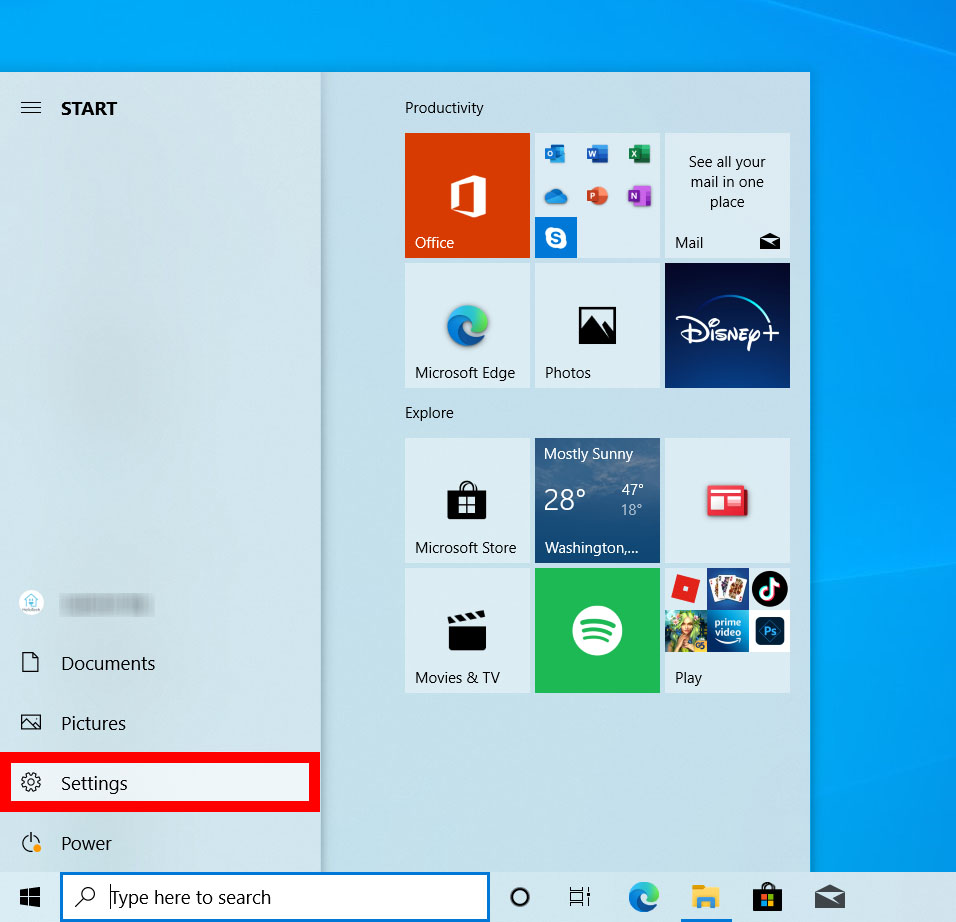
- Open the Windows Start menu. You can do this by clicking on the Windows logo in the lower left corner of your screen.
- Then select Settings. This is the gear shaped icon just above the power button.
- Next, navigate Renewal & Security. You may need to scroll down to view this section.
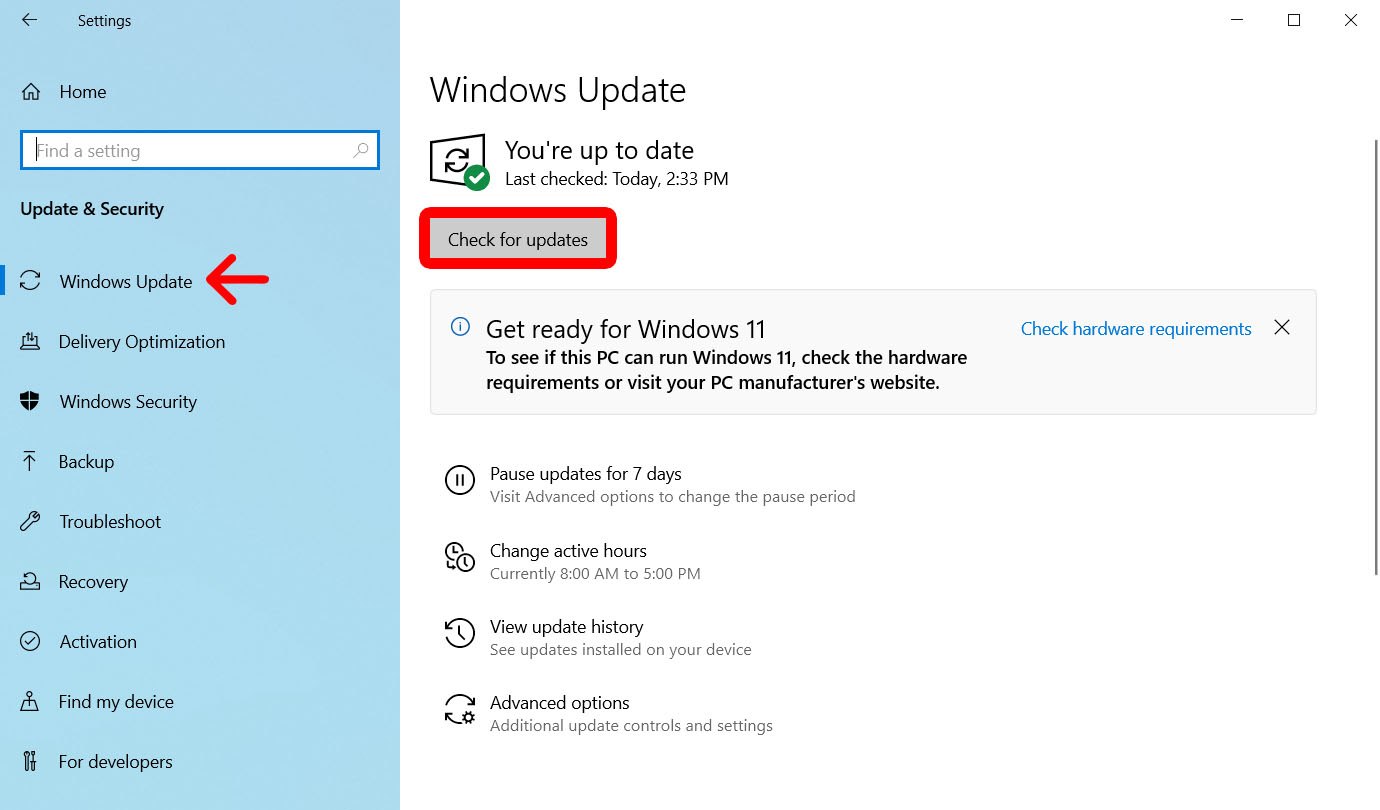
- And then click Check for updates. If you do not see this, click on it Windows Update In the left sidebar.
- Finally, click Download and install.
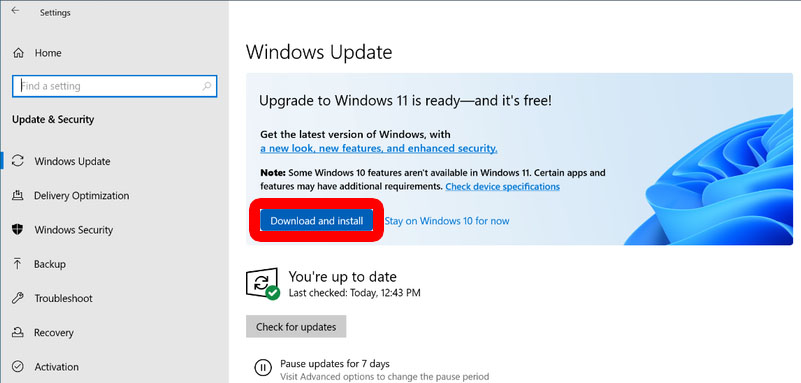
Since Microsoft is releasing Windows 11 step by step, you may not see this option even if your PC is compatible. However, you may be forced to upgrade your system using Microsoft Installation Assistant. Here’s how:
How To Download Windows 11 With Installation Assistant
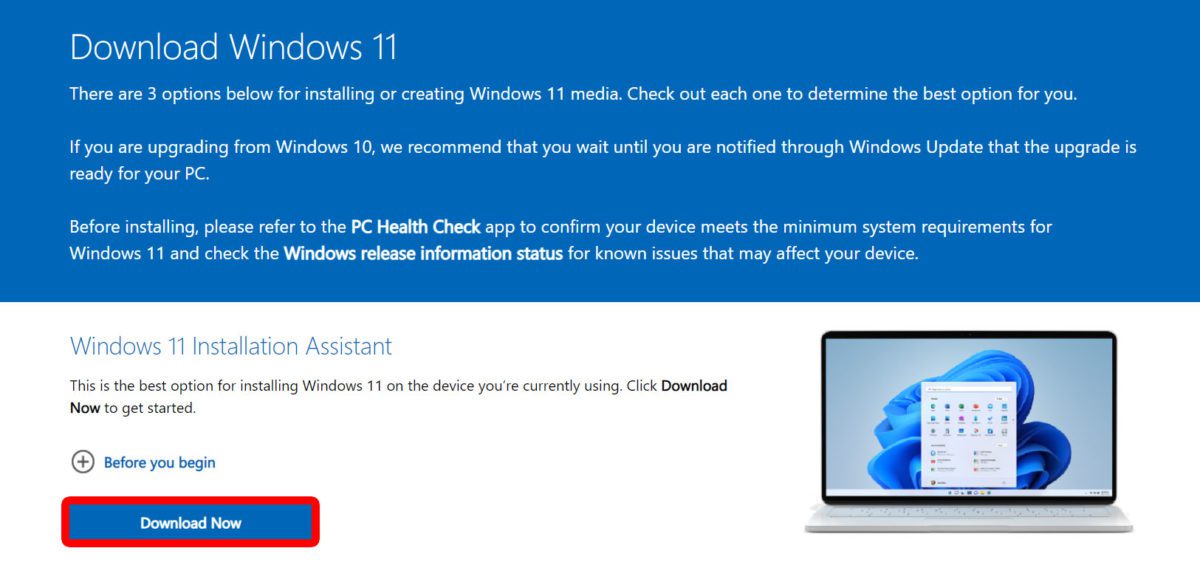
To force your computer to upgrade to Windows 11, you can download Installation Assistant From Microsoft. After you install the app, download, check and wait for Windows 11 to install. Finally, click Start again now Or Then start again. When your computer restarts, it will be upgraded to Windows 11.
- Go to the Windows 11 download page. You can see this microsoft.com/software-download/windows11.
- Then select Download now Under Installation Assistant. This will download the installation application to your computer.
- Next, open the installer. The file can be found in your downloads folder or wherever your browser downloads files by default.
- And then click Accept and install.
- Next, wait for Windows 11 to finish installing. The installer goes through three steps: downloading, verifying and installing. This may take some time and should not stop the installation process or disconnect your computer until it is done.
- Finally, click Start again now. If you do not want to restart your computer immediately, then you can choose Restart. However, your system will automatically upgrade to Windows 11 once you choose to restart.
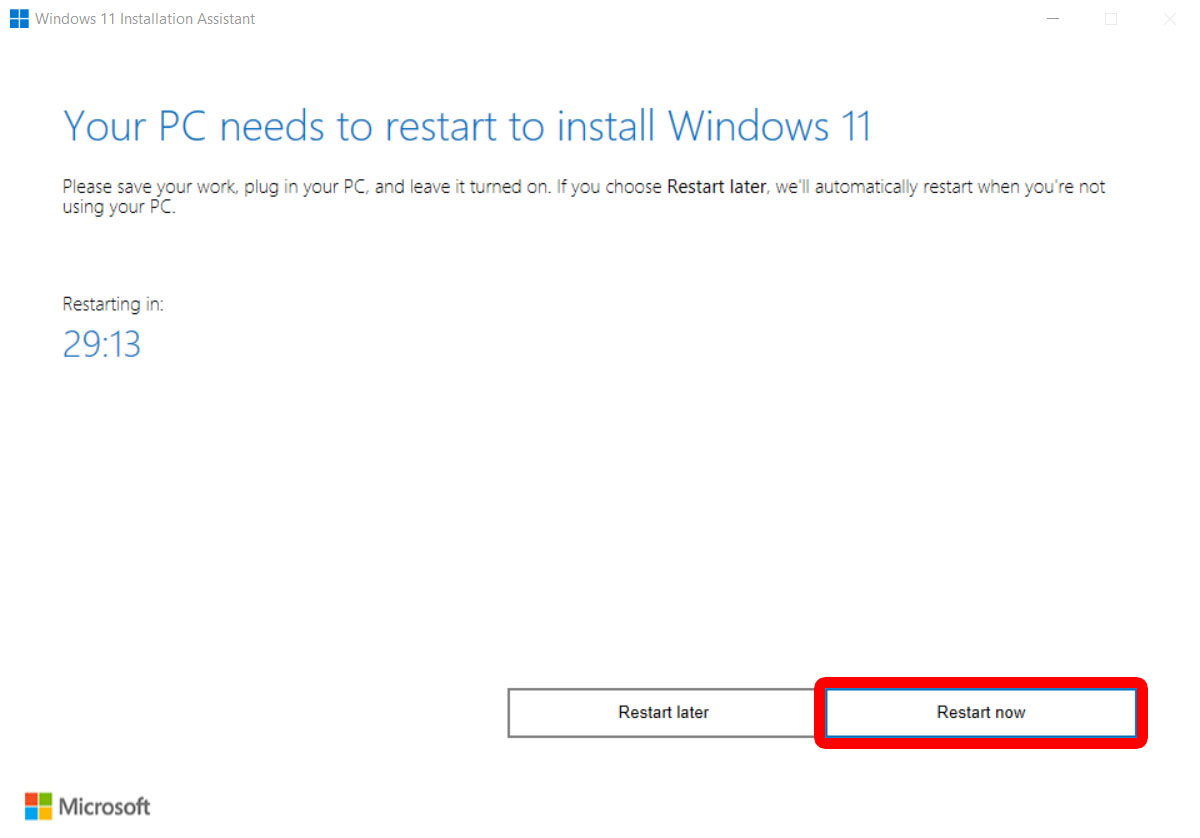
If you do not choose restart now or later, your system will automatically restart 30 minutes after Windows 11 installation.
How To Install Windows 11 With USB Drive
To reinstall Windows 11, download the Media Creation Tool on your USB hard drive. Then change the boot order by entering your BIOS and moving the USB drive to the top of the list. Finally, restart your computer to install Windows 11.
- Go on Windows 11 Download Page. You can see this microsoft.com/software-download/windows11.
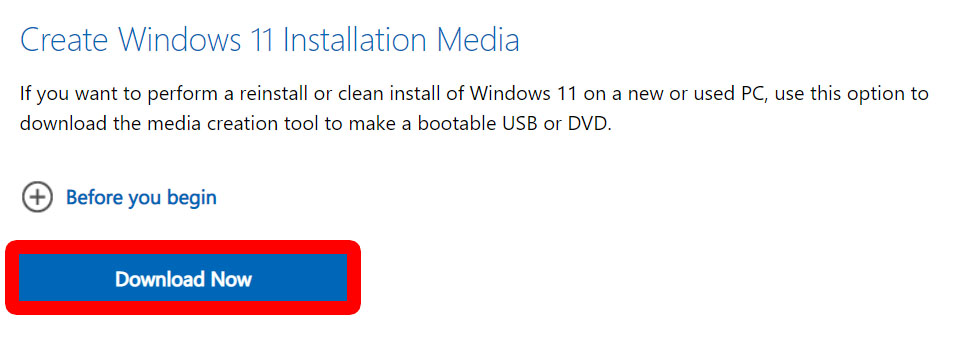
- And then click Download now Under Create Windows 11 installation media.
- Next, open the installer and follow the on-screen instructions.
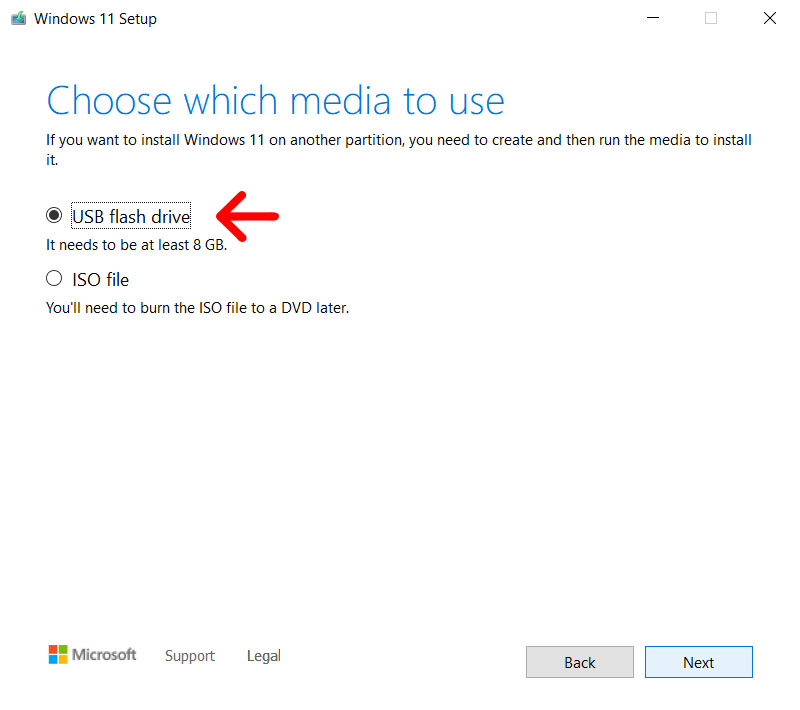
- Select the USB flash drive.
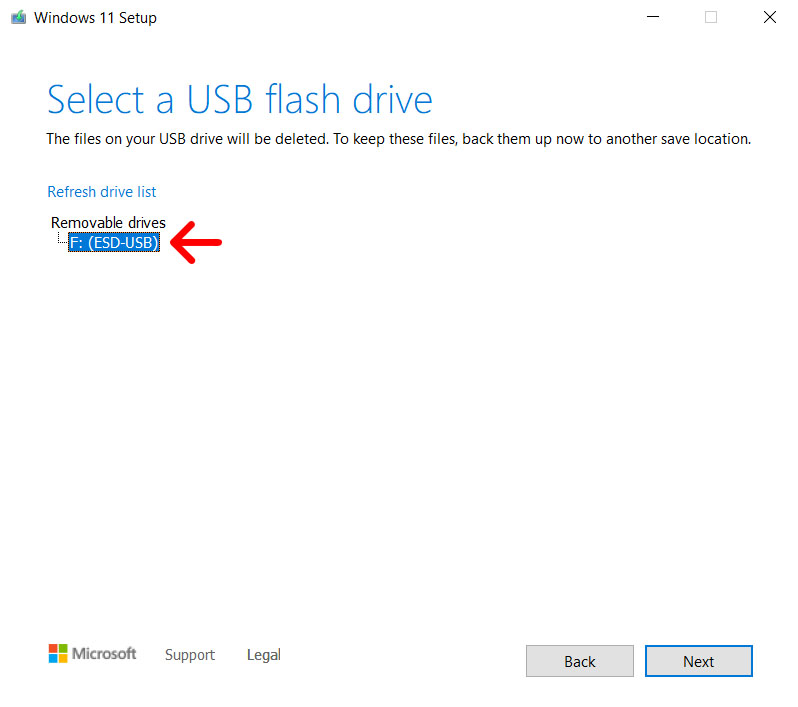
- Then select your flash drive. You need to click on the hard drive before you can click Next.
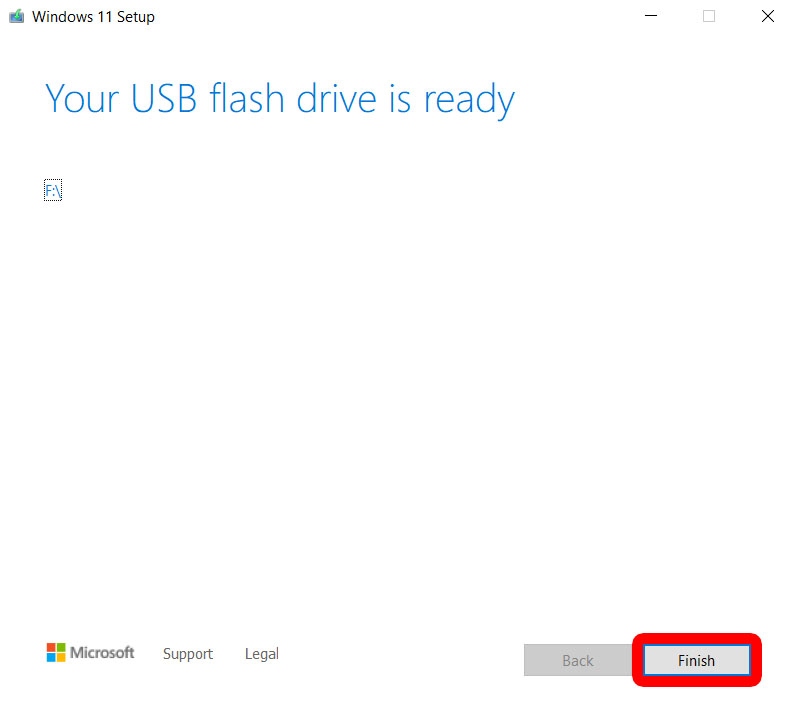
- Wait until the installation is complete and click Finish.
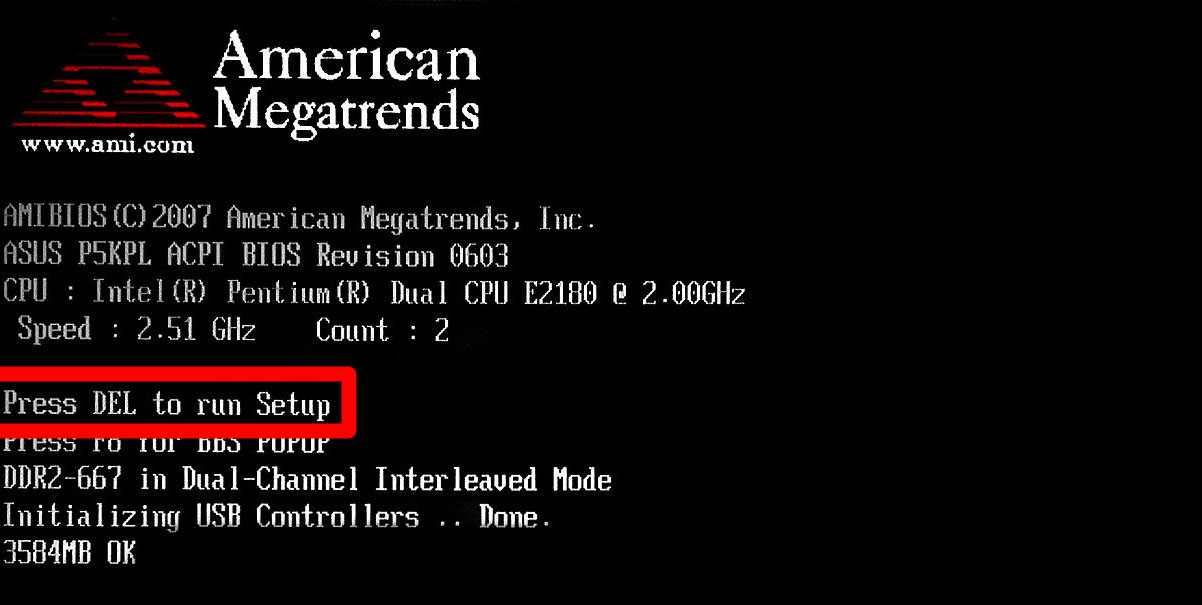
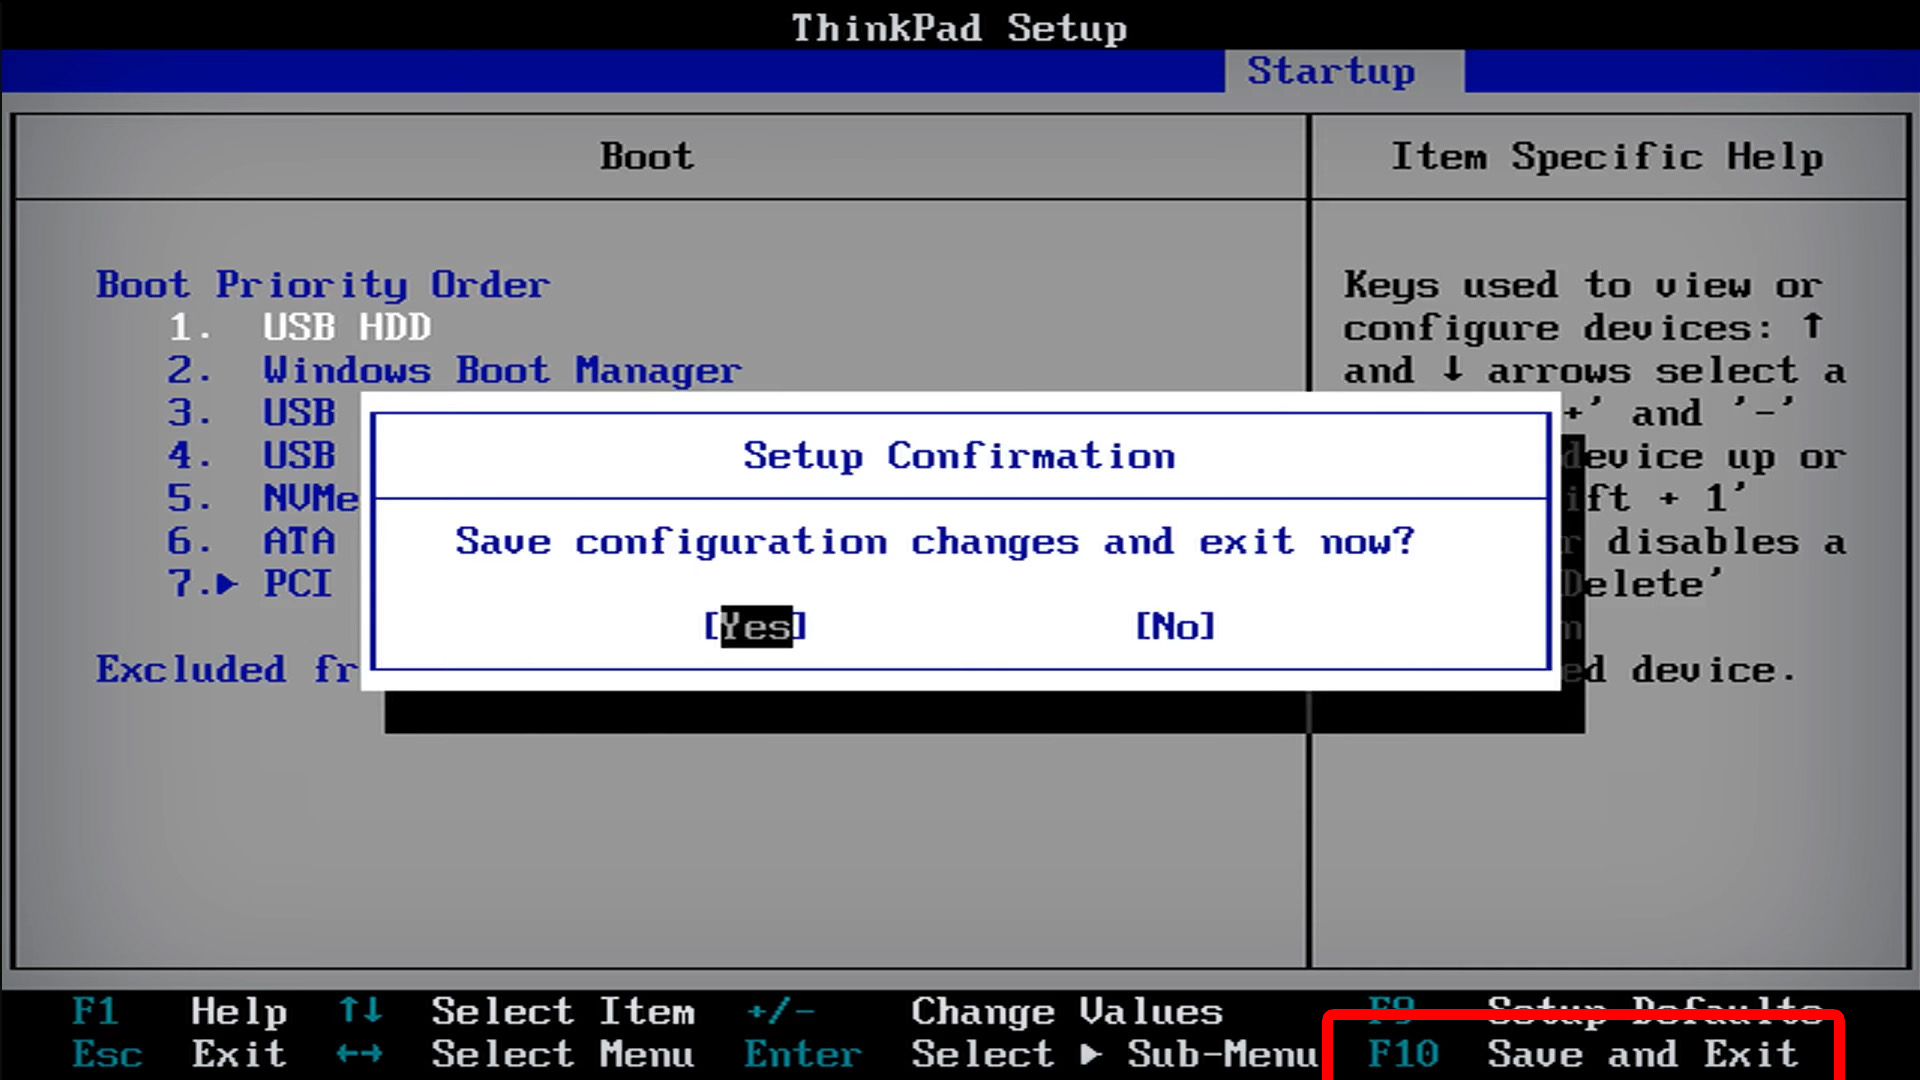
- Next, restart your computer and press the BIOS key. Tap your computer’s BIOS key again on your keyboard until the BIOS menu appears. The BIOS key is different for each computer, but most likely it will be the F2 key, the ESC key or the DEL key.
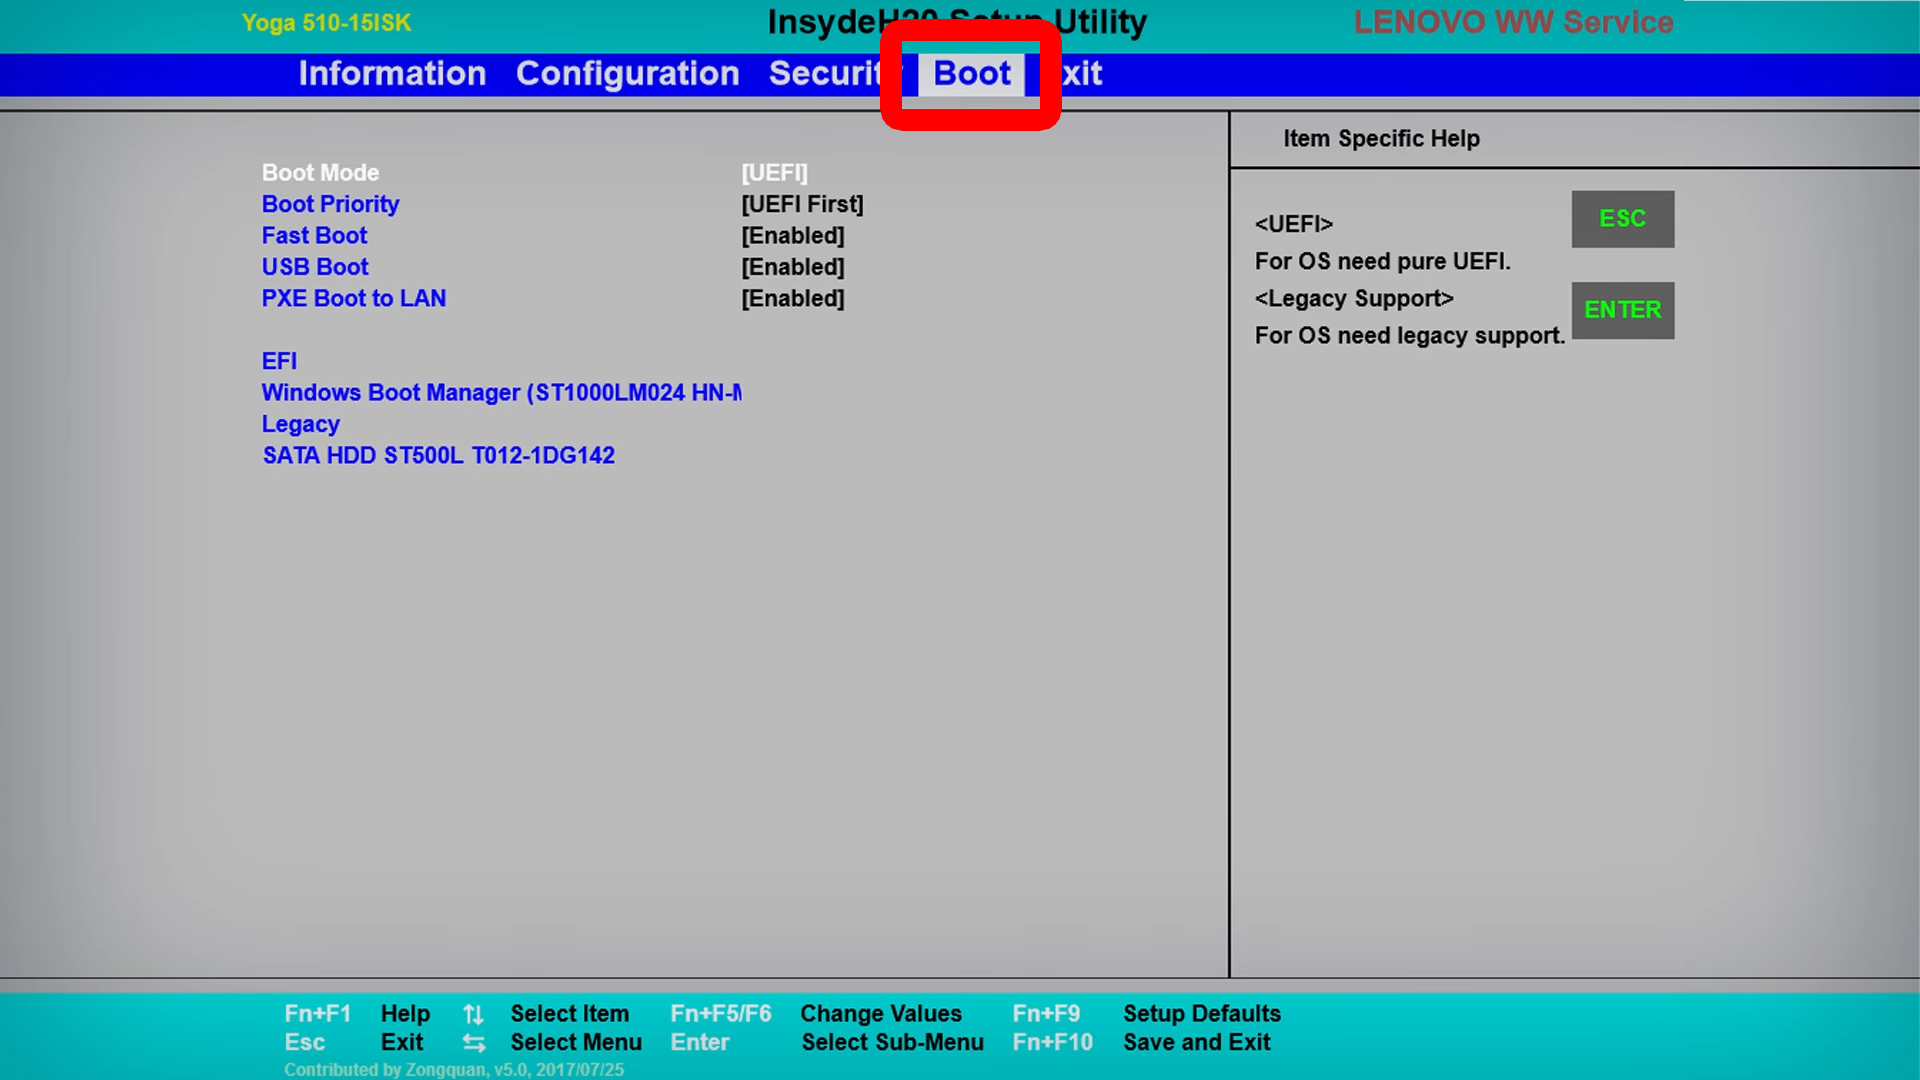
- Find out later Start List. Because every BIOS menu is different, you need to search your computer for it. You can go to the BIOS menu with the arrow keys on your keyboard.
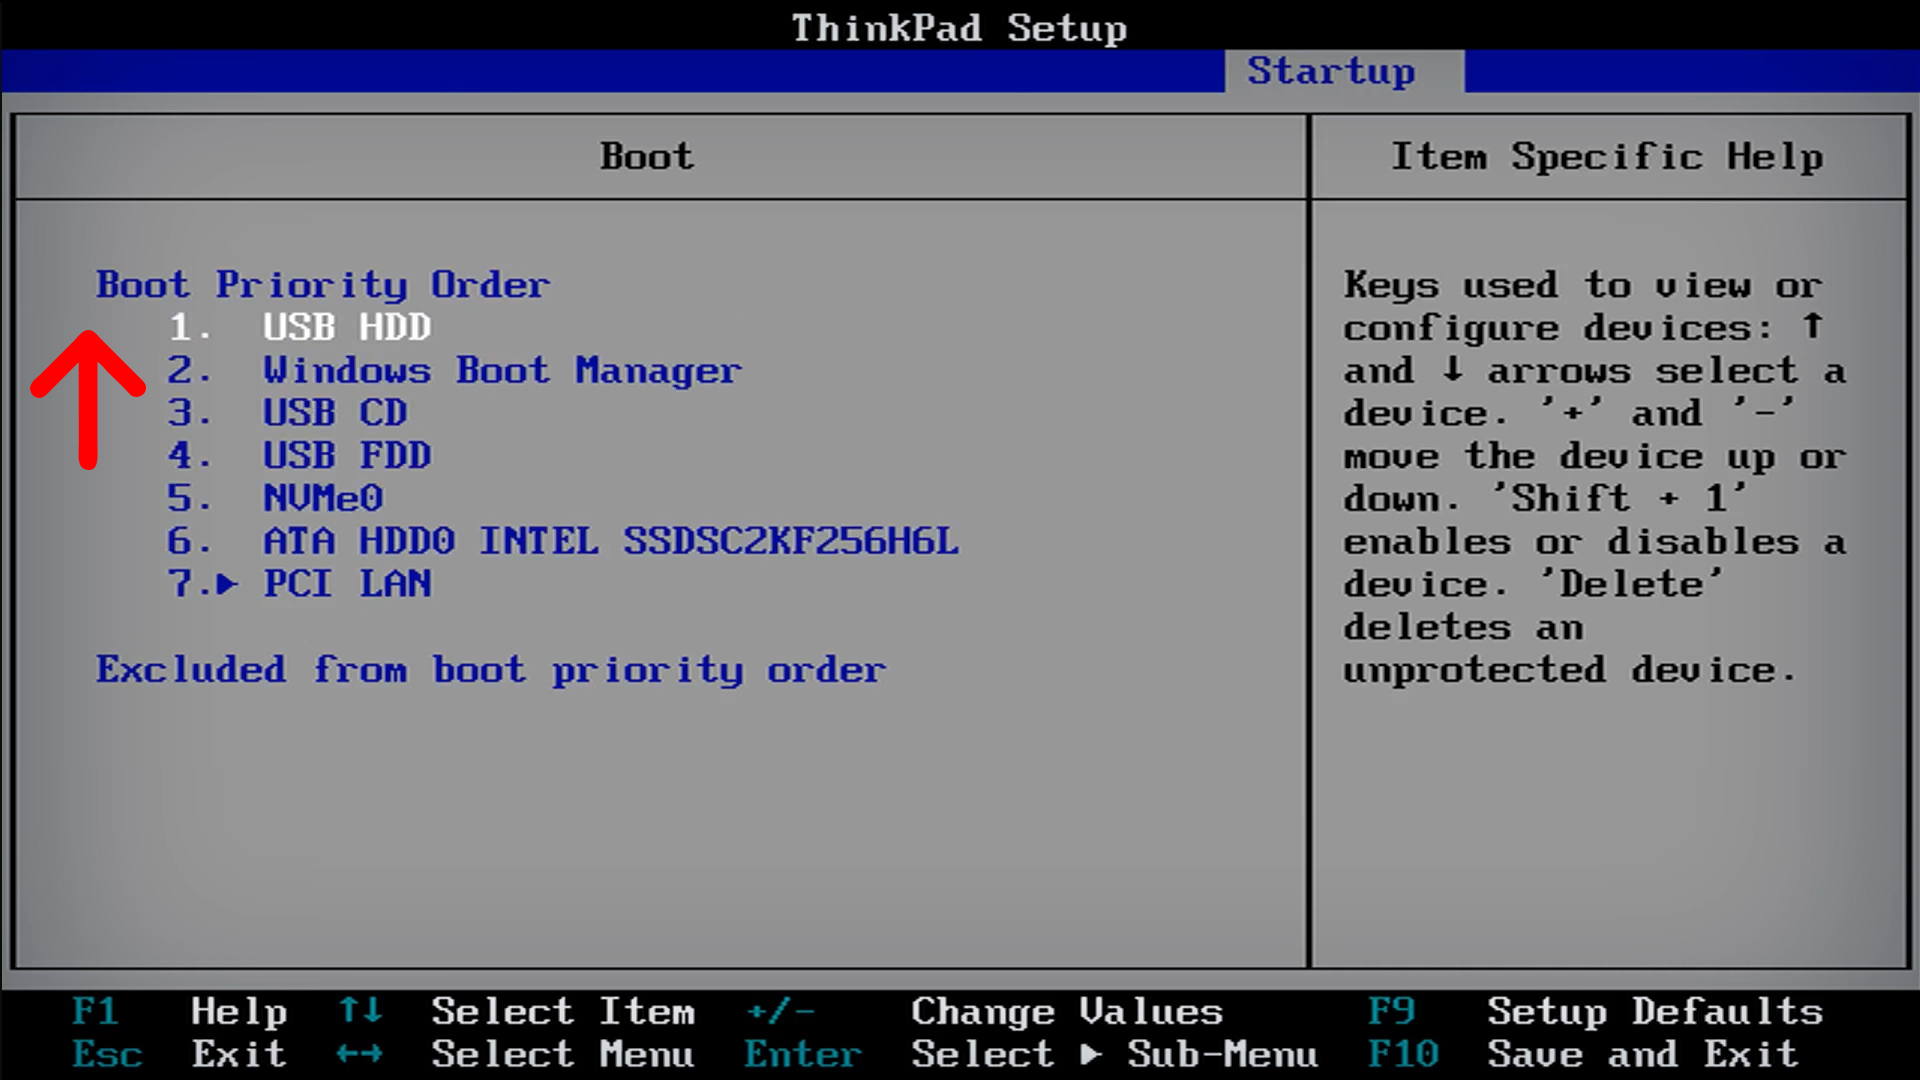
- Next, move your Windows 11 USB drive above the boot order. You should see instructions on how to do this somewhere on your screen. It will tell you to boot (or boot) your computer from your USB drive before attempting to boot from your normal hard drive.
- Then exit the BIOS and save the changes. Usually there is a specific key (like F10) that you can press and exit the BIOS to save changes.
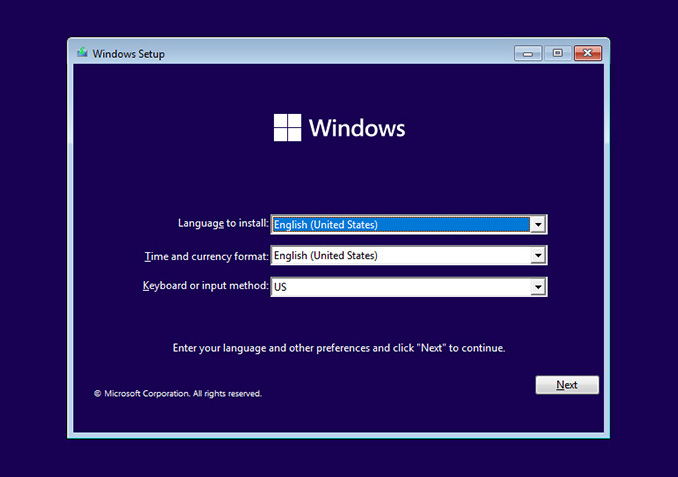
- Next, restart your computer. Your computer should boot from your USB drive and you should see the installation screen of Windows 11.
- Finally, follow alongScreen instructions for installing Windows on your computer. You can keep all your data and settings, not just your personal files, or destroy all your data and perform a clean installation.
If your computer is not compatible with Windows 11, Microsoft warns you not to upgrade. Otherwise, your computer may crash and you may not be able to get security updates.
On the other hand, the technology company also offers some solutions on how to bypass parts of the hardware check. To do this, you can configure the registry editor to allow Windows 11 to be installed on incompatible computers.
How to install Windows 11 on an unsupported computer
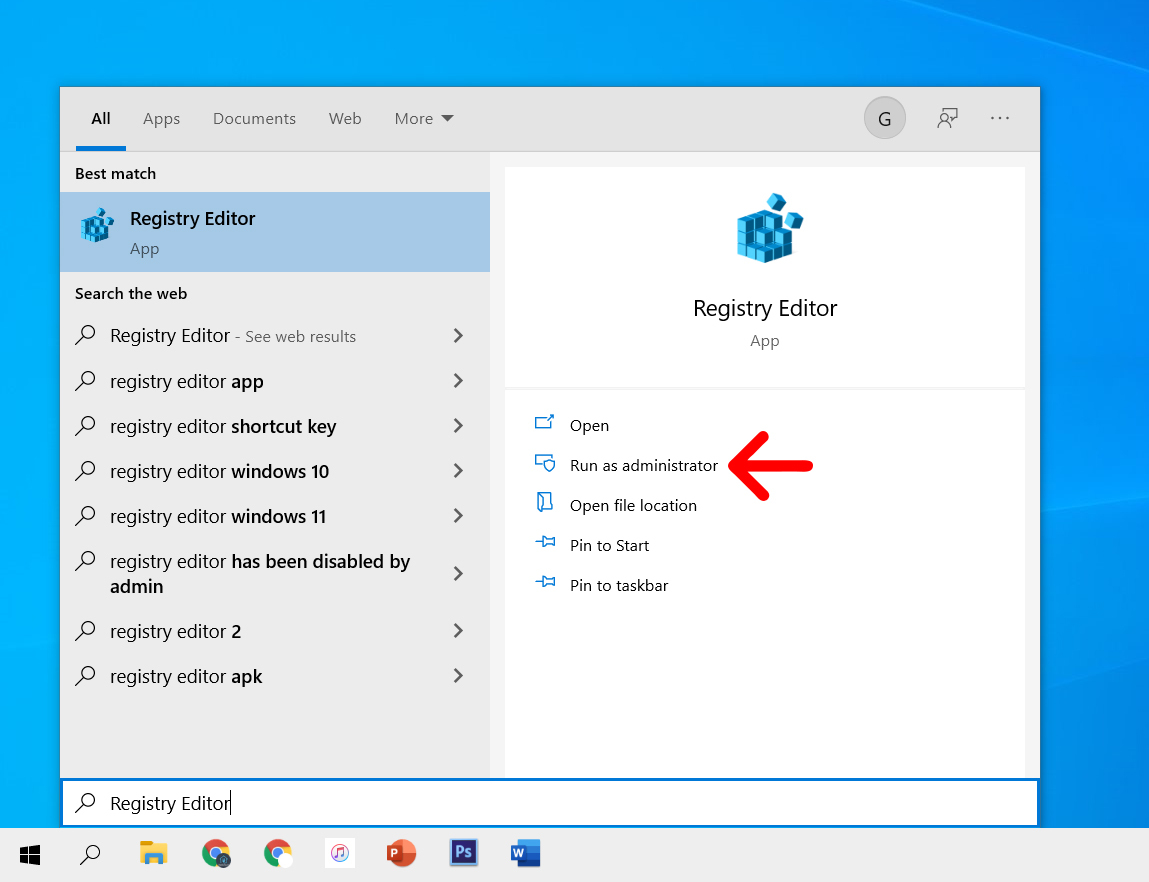
- Open the Windows search box. To do this, click on the magnifying glass icon in the lower left corner of your screen.
- Then type Record author And select Act as an administrator.
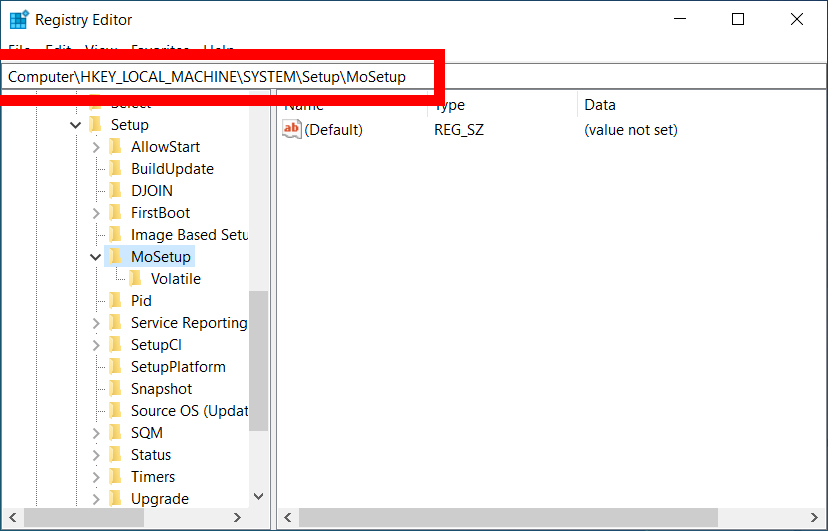
- Next, type System \ HKEY_LOCAL_MACHINE \ SYSTEM \ Setup \ MoSetup In the address bar. The address bar is a long rectangular box at the top of the window. This allows you to go to a specific folder and show the file path of your current folder.
- Then press Enter On your keyboard.
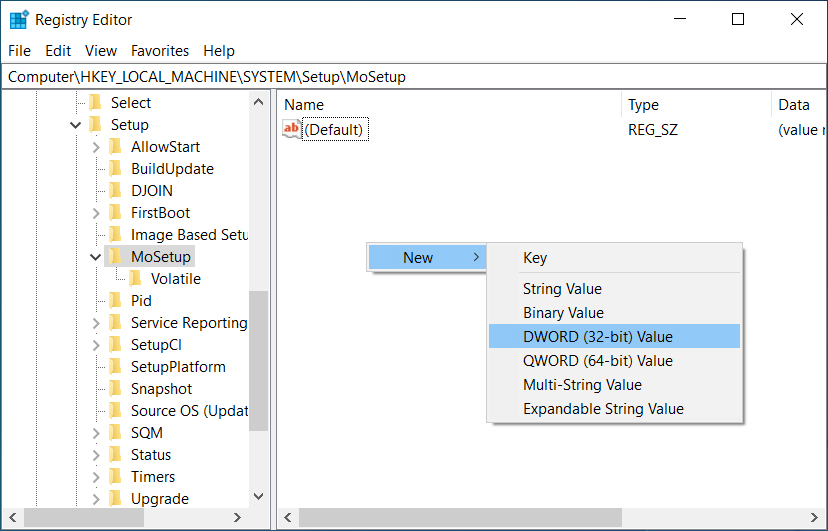
- Next, right-click on an empty space in the right sidebar of the window.
- Then move your mouse New And select DWORD (32-bit) value.
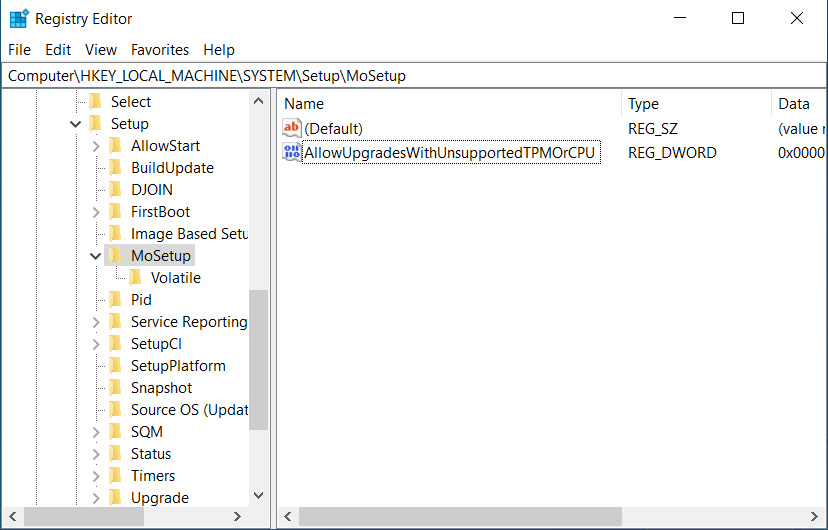
- Next, change the name Allow updates with unsupported TPMorCPU. The system will automatically highlight the name of the new item, so you can go ahead and enter the new name. Otherwise, right-click on the file and select Rename And enter a new name.
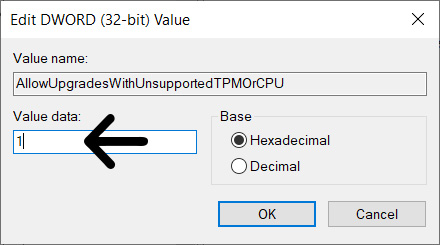
- Then double click on the file and change the value data to 1.
- Next, click OK And close the Registry Editor.
- Finally, restart your computer. You can then go back and try to install Windows 11 on a non-supported computer.
Once you have Windows 11 installed on your computer, you have only 10 days to get back to Windows 10. To do this, go Go to Settings> System> Recovery> Back. To go back to the previous Windows framework, follow the on-screen instructions.

Comments