How to record your screen on Mac
Whether you want to save the YouTube video you are watching or show someone the problem with your computer, it’s easy to capture video on your screen Mac. You can record audio, show your mouse clicks and much more. Here’s how to record your entire screen or part of it on a Mac, no matter how old your computer is.
How to screen record with keyboard shortcuts
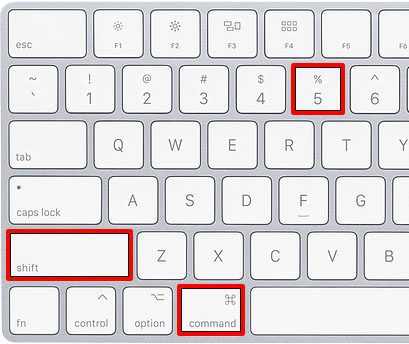
To record your screen on a Mac, press Command + Shift + 5 The keys on your keyboard. Then select one Record full screen Or Record the selected area Buttons in the pop-up toolbar that appears at the bottom of your screen. Finally, click Registration.
- Press Command + Shift + 5 The keys on your keyboard. This will open the Screenshot Toolbar at the bottom of your screen.

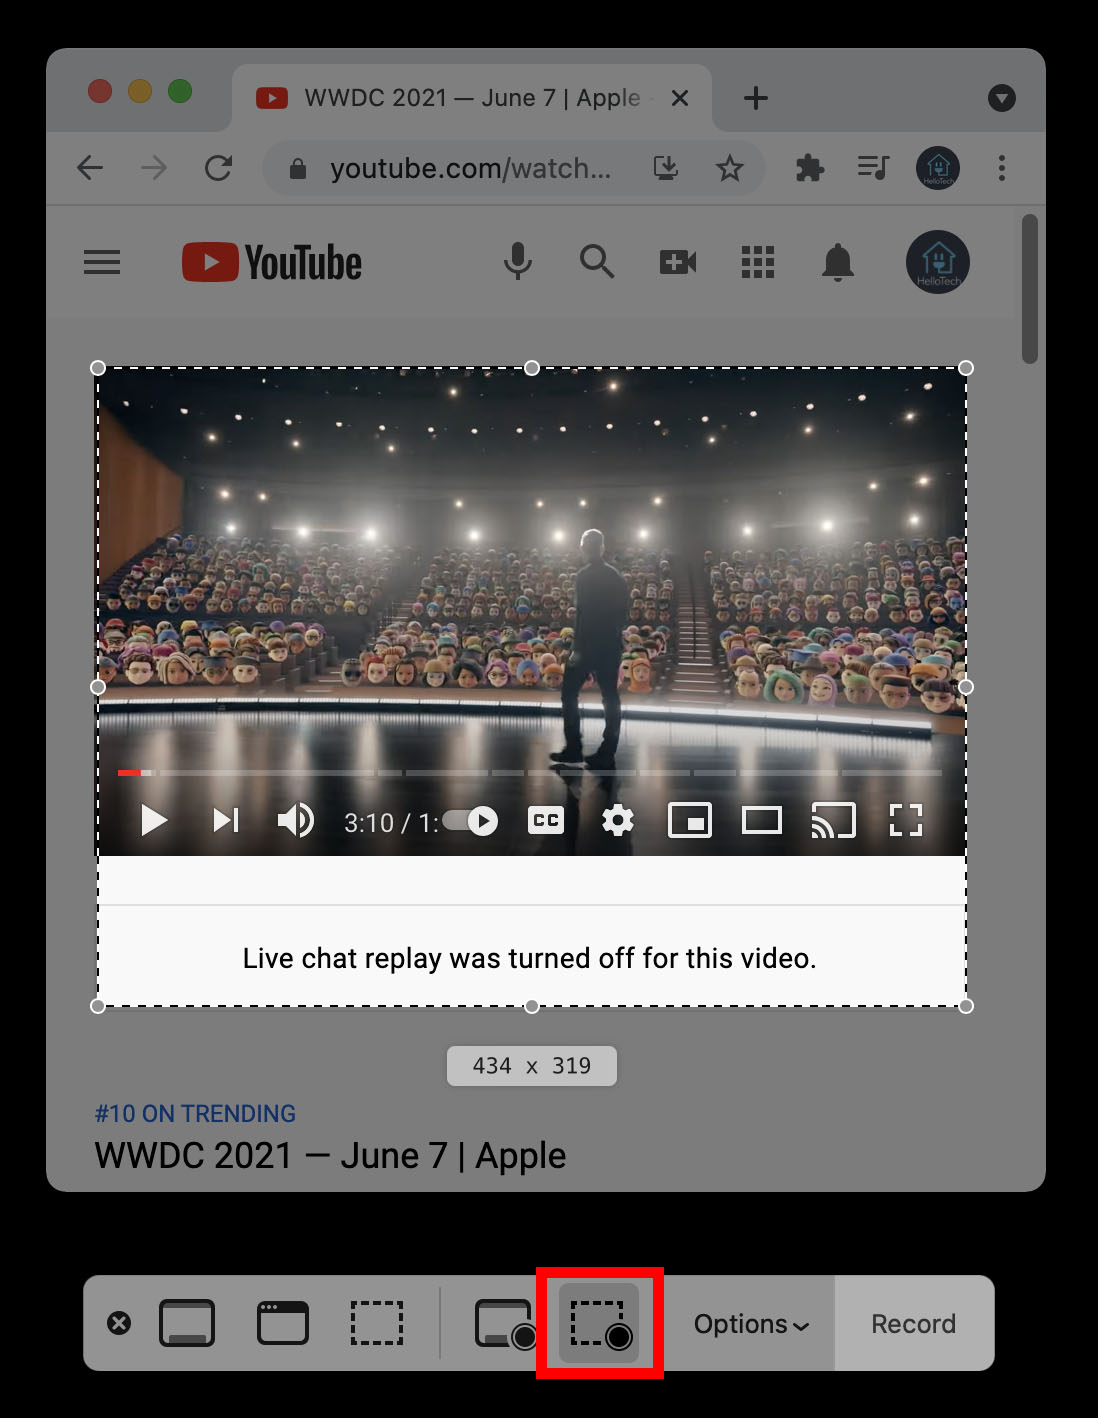
- Then select Record full screen Or Record the selected area. The fourth button after the “x” allows you to record the entire screen. The fifth button allows you to record the selected area of the screen. You can see what each button does by moving your mouse over each icon.
- Next, click Registration. You will see this on the right side of the toolbar.
- Finally, click the square icon in the circle at the top of your Mac’s screen to stop recording. Alternatively, you press Command + Control + Esc Stop registering.


If you have an older Mac or keyboard shortcuts do not work for you, you can also record your screen using the QuickTime app. Here’s how:
How to screen record using QuickTime
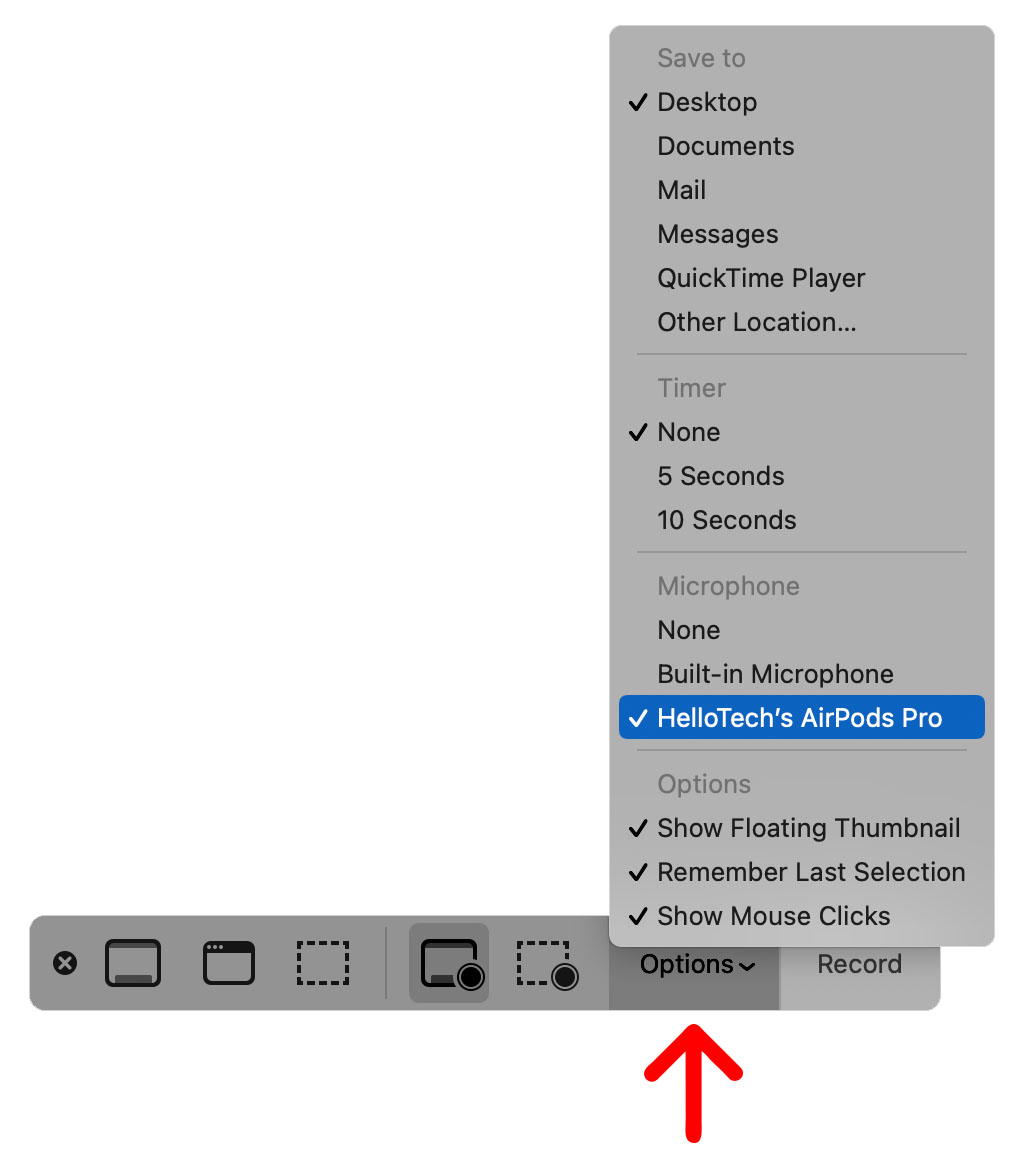
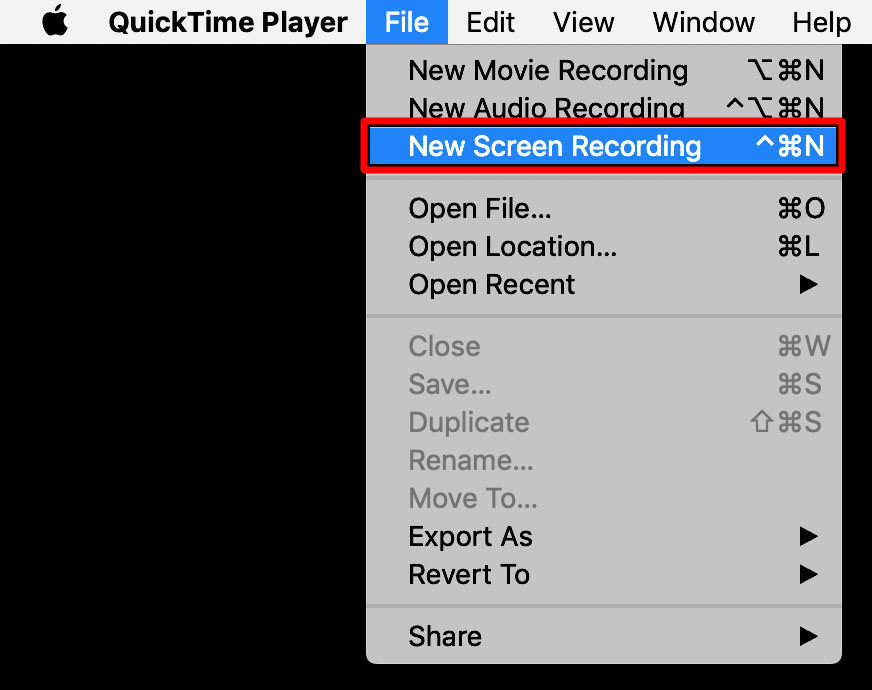
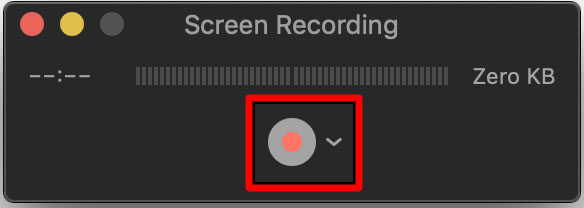
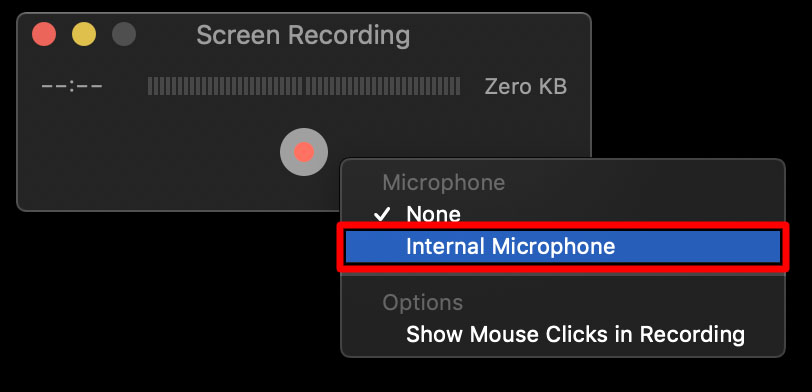
To register your screen on a Mac, open the QuickTime app and click File In the menu bar at the top of your screen. Then select New screen recording Click the red button in the pop-up window. To record audio, click
- Open the QuickTime Player app. This is a processor already installed on Mac computers. If you do not find it in your applications folder, you can download it Here.
- And then click File. You will see this in the Apple menu bar at the top of your screen.
- Next, select New screen recording. This will open the screen recording window.
- Click the red button to start recording your screen. You can click anywhere on the screen to record the full screen. You can drag and drop to record a specific area Start recording Within that area.
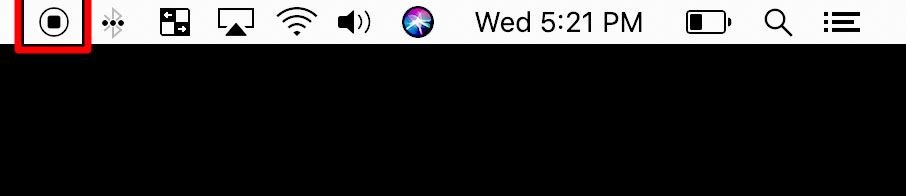
- Click the black circle button on the menu bar to stop recording. Alternatively, you press Command + Control + Esc Stop registering.
After pressing stop, QuickTime will automatically open the video recording. You can then enable, edit or share the recording. You can also save by clicking File> Save In the QuickTime menu or by pressing Command + S Keys.
Now that you know how to record your screen on Mac, check out our guide How To Record Screen On Your iPhone.
The Tech Chips editors choose the products and services we write about. When you make a purchase through our links, we may receive a commission.
Comments